A step-by-step guide on how to use Pre-Meet
How do I sign up?
Set up an account with Digital Clipboard
- Go to the SJP Pre-Meet website where you can view plans and pricing before signing up
- Click on the Sign in button* or select a plan on the Pricing page by clicking on the FREE TRIAL button on your chosen plan.
*If you don’t select a plan from the Pricing page, you’ll automatically be signed up to the Starter plan.
- You’ll then be directed to SJP’s single sign-on authentication process.
- You’ll be redirected back to Pre-Meet. Select your practice from the dropdown list*.
*Can’t see your practice? Contact us at support@digitalclipboard.com.
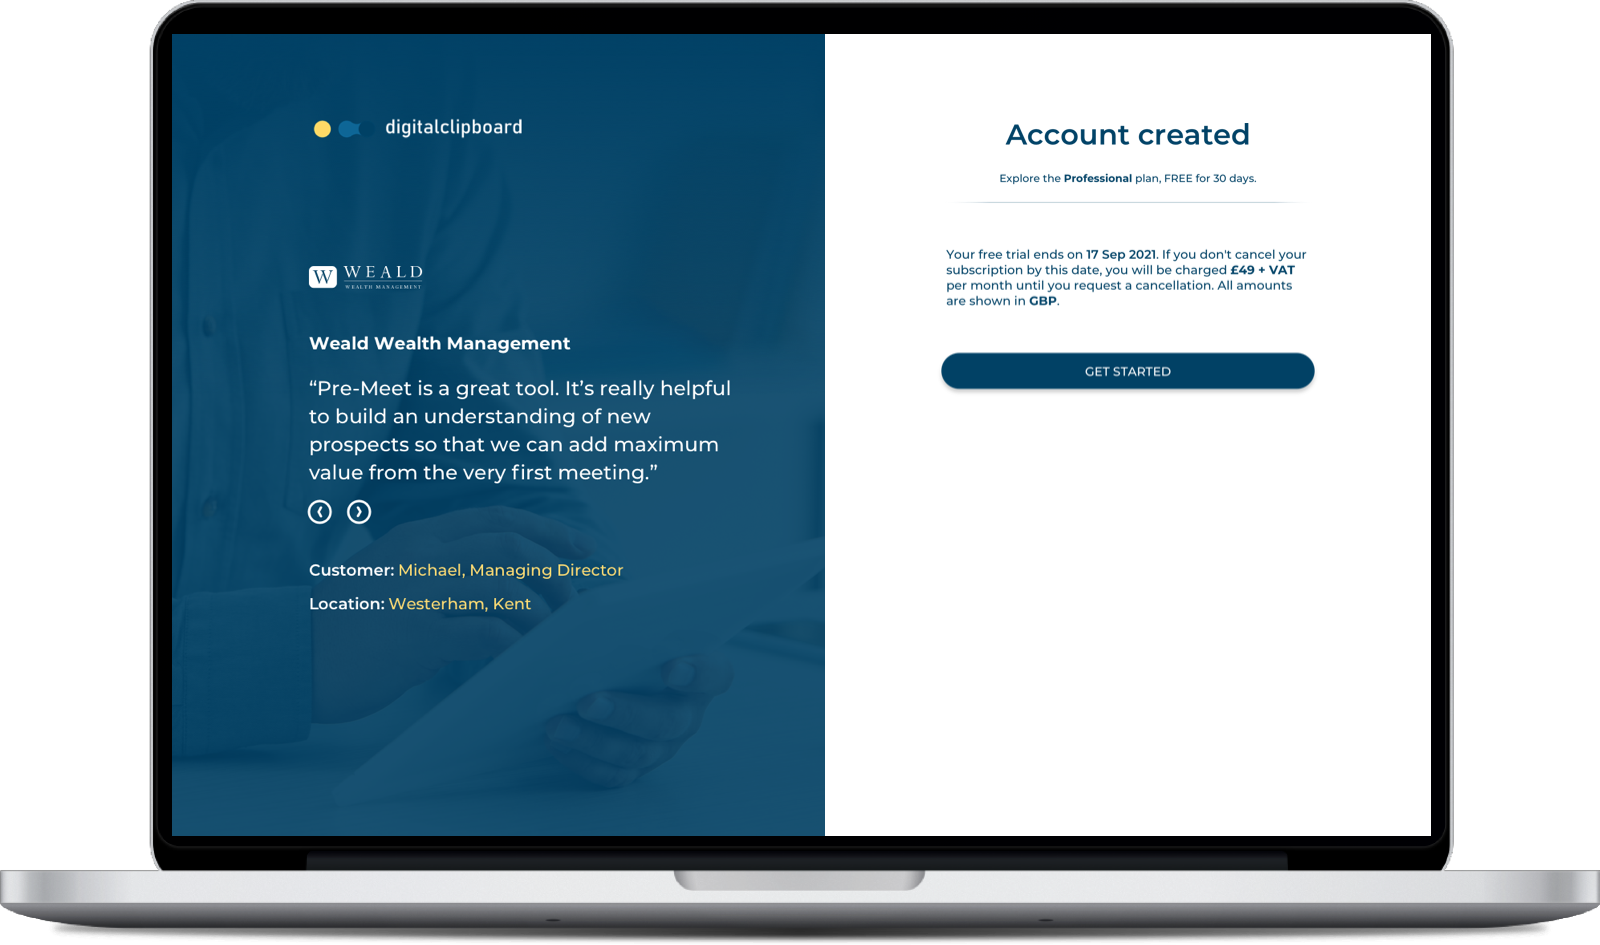
- Your account has been created and you’ll be set up on a 30-day free trial (eligible per practice).
- If members of your practice are already on a Digital Clipboard subscription, a request will be made to the Account Owner to join. Your access to features will be limited until they accept your request.
- Once your free trial is over, we’ll start charging the amount of your chosen plan to your SJP Partner Account unless you cancel.
- Look out for a confirmation email that we’ll send to you with trial and plan details. We’ll send you an invoice on the day your subscription starts and will continue to do so on a monthly / annual basis depending on your plan.
Getting started
Get to know the flow by sending Pre-Meet to yourself
- In your Pre-Meet Portal (homepage), select Click to send Pre-Meet to yourself on the client record with your name on it
- Select which type of Pre-Meet you’d like to test out
- Check your email inbox for the Pre-Meet invitation
- Select the Click here button in the email to open the webform in your browser
- Go through the form to see the question flow before submitting
- Back in your Portal, click Review on your record to view the answers you’ve submitted.
Sending to new prospects
Use this option to send Pre-Meet to a new client who does not have an existing lead or prospect record in Salesforce.
Following the transition to SJP’s Lead Management process, we’ve made some changes to the new client creation flow.
You can find more details at sjp-lead-management.
Please be aware that the Digital Clipboard service integrates directly into SJP’s new process. We do not control the responses from Salesforce once you’ve inputted a Prospect’s details. You may wish to contact SJP’s support team directly regarding any issues related to account ownership.
- Click on the blue Add new client button at the top of the screen
- Select ‘a Single’ or ‘Joint’* record, select ‘Next’
- Add the client’s name, select ‘Next’ (NEW STEP)
- Add the client’s contact details*, select ‘Next’ (NEW STEP)
- Select an option for ‘Source’, ‘Channel’ and ‘Initiated By’, select ‘Create’ (NEW STEP)
- SJP’s new Lead Management process will check the client details you’ve inputted and return an outcome
- If you’re successful in creating the record, a new prospect record is also created in Salesforce
- Find the client on your dashboard** and select the option to the right of the record – ‘Send Pre-Meet to client‘
- Select the type of Pre-Meet you want to send – Basic, Detailed or Review Meeting (coming soon)
- An email overlay will pop-up that includes a weblink to your client’s unique webform. You can edit the wording before clicking Send
- A Pre-Meet invitation is then sent to your new client. You’ll find the client’s record listed in your Portal with their status shown
*If you select to send a joint Pre-Meet, please be aware that the email invitation will only be sent to the lead client (the client you enter first). If you provide the same email address for both clients, the second client will be flagged by Salesforce as a potential duplicate. Please select the option ‘Decline Duplicate’ in order to successfully create the second client on our system and in Salesforce.
**Note that there is another option available on the client record after you’ve created it successfully – View / Edit. This opens the record up in Clipboard Web (our new service available on the Pre-Meet website). If you intend to use Pre-Meet, please do not select this option before sending Pre-Meet. The system won’t currently allow you to send and access Pre-Meet if you open the record in Clipboard Web.
You can find out more about Clipboard Web here.
Sending to existing prospects
Use this option to send Pre-Meet to a client who has an existing lead or prospect record in Salesforce.
When you sync to Salesforce using this method, their existing record will be populated with their Pre-Meet answers.
Joint clients
If you wish to send a joint Pre-Meet, please ensure the two clients are connected by an advice record in Salesforce before searching on Pre-Meet.
- Search for the client’s record using the Search bar
- Select the relevant record from the drop-down menu
- Select the option to Create a Pre-Meet client*
- Select the type of Pre-Meet you want to send – Basic, Detailed or Review Meeting (coming soon)
- An email overlay will pop-up that includes a weblink to your client’s unique webform. You can edit the wording before clicking Send
- A Pre-Meet invitation is then sent to your new client. You’ll find the client’s record listed in your Portal with their status shown
*Note that there is another option available on the screen after you’ve selected the client from the search bar – Open in Clipboard Web (our new service available on the Pre-Meet website). If you intend to use Pre-Meet, please do not select this option before sending Pre-Meet. The system won’t currently allow you to send Pre-Meet if you open the record in Clipboard Web first.
You can find out more about Clipboard Web here.
Can’t search for clients?
This could be related to Salesforce permissions which are preventing your code from searching for the client records.
You may need to have your permissions adjusted on Salesforce if you wish to use your own code to search for clients successfully.
These permissions are controlled by the SJP Salesforce team and aren’t accessible or adjustable by Digital Clipboard’s team. We advise that you contact SJP to enable permissions.
Get notified on completion
Email notifications and reviewing answers
- Receive a notification in-Portal and by email with a link directly to the client’s answers
- Review the submitted answers in your Portal
Sync to CRM
Save Pre-Meet data to your backend
You need to be logged in to Salesforce via Pre-Meet before you’re able to sync records. You should be automatically prompted to connect to Salesforce during the syncing process.
- When you’re happy to sync your client’s data to Salesforce, click on the green Sync to CRM button in the client’s review page
- Select Yes to confirm sync. This will start the syncing process and you should see the record in Salesforce within 15 minutes
If you’re having any issues syncing, please try the following:
- Make sure you’re first logged into your Pre-Meet account
- Click on the following link to ensure you’re connected to Salesforce – https://premeet.sjp.co.uk/oauth/salesforce
- Attempt the sync again
Team account
Manage your team (Owner and Admin members only)
Invite new members
- Go to your account settings (cogwheel icon at the top-right corner of your homepage)
- Select Invite New Users
- Add a members’ details and send an email invitation to join the team
Manage team roles
- Go to your account settings (cogwheel icon at the top-right corner of your homepage)
- Select Team Account → Manage Team
- You can change roles using the drop-down menu next to each user’s name
Customise Pre-Meet
Add practice branding (Available on the Professional plan and higher – Owner and Admin members only)
Owner and Admin users can customise the Pre-Meet webform and practice branded email templates via their in-Portal settings. Any changes will be reflected in all members’ accounts within the practice.
- Go to your account settings (cogwheel icon at the top-right corner of your homepage)
- Select Team Account → Practice Branding
- Choose your own logo in JPG, PNG or PDF format
- Choose your brand colours for headers, footers and buttons
- Click the Save Changes button
Editing email templates
Personalise your messaging
- Go to your account settings (cogwheel icon at the top-right corner of your homepage)
- Select My Account → Edit Email
- Choose which Pre-Meet template to edit and click on the corresponding Edit email button
- You can choose to edit the Standard template or the Practice branded version
- Edit the template as required and click on Save Changes